Showing posts with label sewing. Show all posts

Monday, December 27, 2010

December Delights..

Here's to hoping you had a wonderful and blessed Christmas. We sure did!

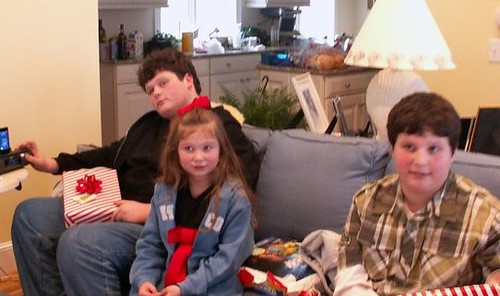
Here are my three opening gifts at Grannie and Grandpa's.

The weather held out. While we are snowed in right now, the crazy blizzard held off until the festivities were over.

It was a very Handmade Holiday this year! Gifts for teachers, including handmade soaps, were all handmade and well received.

Some of the sewing I've done can be found below. Well, wait. Firstly, is Little Lady's dress which is seen above but not very well. Let's not talk about how I can't locate my camera the past couple of days. Can't be because the holidays were hectic, could it?

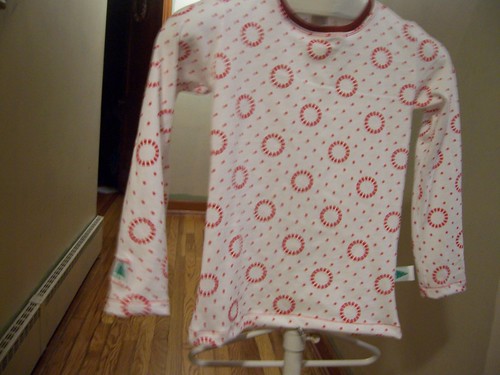
A top made for Little Lady as a back up for her Holiday Concert. Surprise, surprise. She wanted to wear her dress! (a little peer pressure maybe? I'm all for THAT kind!) This is from Ottobre magazine 1/2010.


A top for Little Lady's godsister who isn't much for girly outfits. This was for her Holiday Concert in her Kindergarten. This is my rendition of a top in Ottobre 4/2004. It's made with Chez Ami jersey fabric.


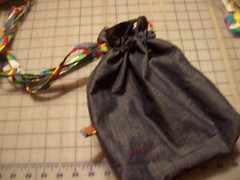
This drawstring bag was for Puppy Feet. He *loves* Legos!
Afraid? LOL Don't be! It's Little Lady's pillow pet made with the guidance of this tutorial. Thank you!
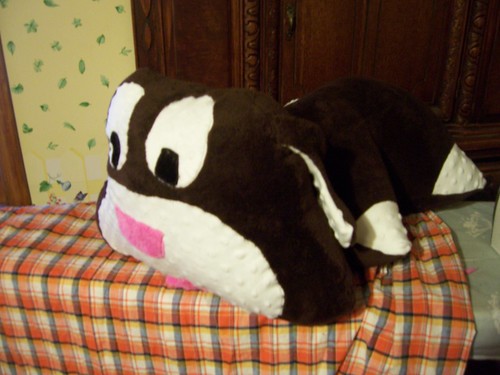
She loved it!

So those are a few of the highlights of our Handmade Holiday 2010. There were also grocery sacks, wool with flax seed handwarmers, and handmade soaps. I made a bamboo velour pillowcase and a double handed oven mitt.  AND I made myself a new top for Christmas. It was a GREAT Handmade Holiday!

May you have a blessed New Year!

Tuesday, April 27, 2010

Prepping for Craft Fairs--

I do enjoy to participate in Craft Fairs. Many times, they are for fundraising. Someone's crusade to save a loved one or to help find a cure.

This Saturday, May 1, I'm participating in a fundraiser for Hemophilia. The Ducasse family has endured quite a bit. Especially their son, Daniel. Consider coming to St Louis' Church 15 Lake Ave in Webster, MA

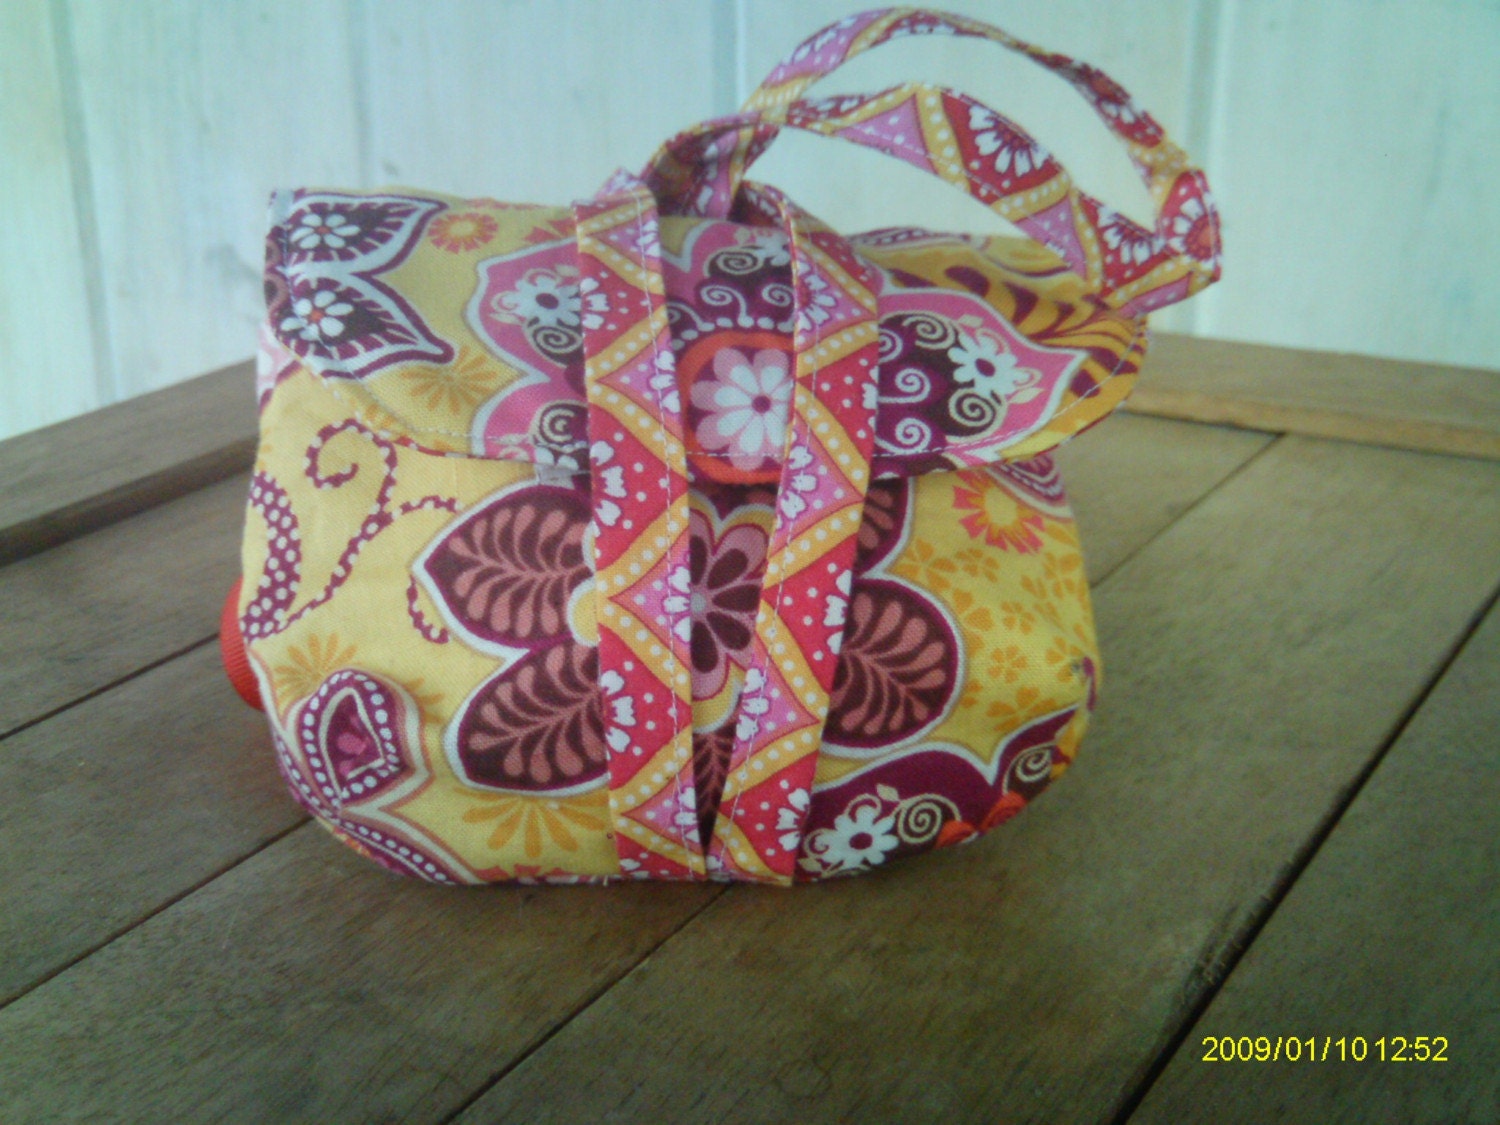
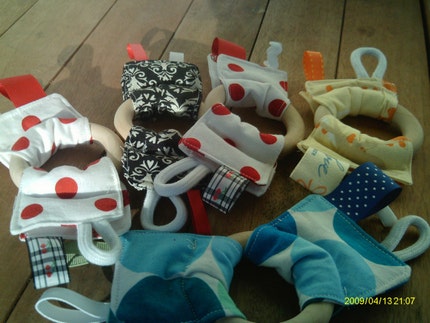
But, in participating in Craft Fairs, so does the scramble to figure out what to make, bring and try to sell. I'm planning on bringing camera wristlets, my bibs and wooden teethers, shirred sundresses--- I have craft A.D.D.! What else to bring----

And then, to find the time to make it all :0)

Update:: so far -- Camera Wristlets!( sheesh what a horrible picture!)

Update: Better picture and now available in my store

Wednesday, April 14, 2010

*~*FREE*~*

That got your attention, didn't it?

I am paired with Best Finds From Etsy in a promotional giveaway. Have a baby? Pregnant friend? Baby shower to attend? Looking for the perfect gift for your friend's busy baby?

Post over at Best Finds From Etsy and be entered to win one of these beauties! Wood too keep your sweet one from sucking on plastic, ribbons to keep your baby interested, different textures to become her favorite toy, bright colors to catch his eye, modern fabrics to show how chic you are! ;-)

As an added bonus, mention the BFFE blog at checkout and 15 % off is yours in my store www.tonyastemptations.etsy.com ! A great deal all around~

Thursday, March 25, 2010

Peter Rabbit Inspiration

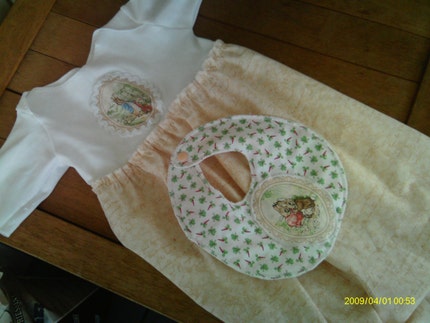
Every Easter, my mother-in-law would buy an Easter bunny and a book. For many years, it was The Tale of  Peter Rabbit by Beatrix Potter.

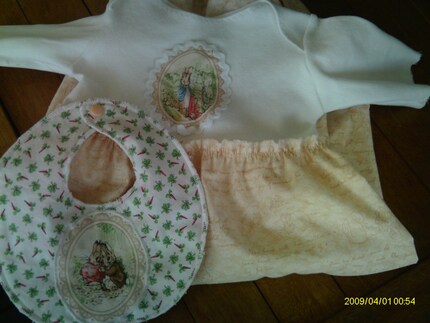
When I came across this fabric, it spoke to me. It does speak to me! I'm telling the truth. But not in the way you are thinking ;-) It was begging to become a bib and baby gown set--complete with bunny appliques.

I was thrilled to be able to get this done in time for Easter but it would make a wonderful gift anytime. View here.


Friday, February 12, 2010

Happy Valentine's Day

What better way to show the love on Valentine's Day than by wearing it!

Oh ya, you knew it was coming...

Two shirts for two sisters we know who LOVE cats-- what better way to show it than to don Cat Fairy shirts! Each with their own flair to speak to their personalities. (You'd think my higher pixel camera would take better pics than this... but I digress) The first one is front and back Cat Fairies with pink with white polka dot sleeves. The second is front Cat Fairies, the rest a pink heather knit.
It wouldn't be complete without getting my Lil Lady to have one too. Being that we are in a "non- girlie" phase, I had to be more creative. Hers is black and grey stripes, with faux white layer underneath and Cat Fairies sleeves. Gotta love how she's talking and pointing to the Cat Fairy applique on the bottom.
Her hair is getting so long! Sheesh, she sure is cute.. <3-- Happy Valentine's Day!

Thursday, January 14, 2010

Punch Buggy Pink! Punch Buggy Yellow!

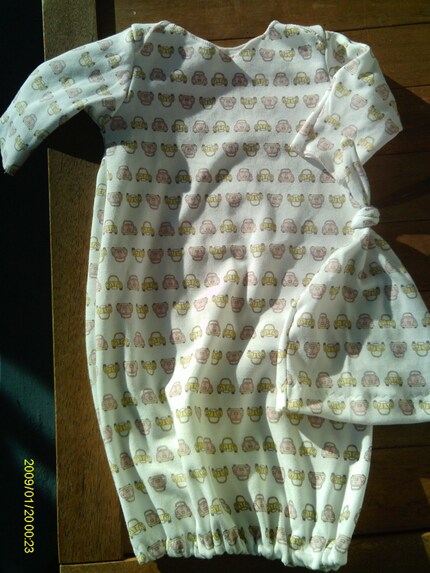
Did you ever play that "Punch Buggy" game? My family wasn't into it but I had a friend who was. How annoying! Out of no where "Punch Buggy" then whack on the arm. Where on Earth did that come from anyway? Well, even though I have bruises from that game, it didn't stop me from loving this soft interlock knit printed with sweet yellow and pink VW Bugs. What better way to dress your little lady while still all cuddly and new? Envelope neckline trimmed in pink wooly nylon thread make for a solidly made and cozy comfy gown. These baby gowns are some of my favorite creations!


Sunday, November 29, 2009

First Communion

Today my middle guy made his First Communion. Now that we are Lutheran, we are growing into the traditions and to be 10 and have your first communion in the fall is customary! Okeedokee!

My son asked if I had any of this fabric left and said "Hey, that'd make a good shirt for church!"


Isn't he the sweetest?


Notice the silver crosses? It looked very nice.


And, even though the pictures stink and we are squinting, I'm adding the other outfits I made for the day--


It was a wonderful service at church and we all really enjoyed it. I'm more beat that you could imagine.. I made a feast fit for a king twice this long weekend! LOL

Oh ya.. and below is a rare shot of the DH and I together--- Good night!


Friday, July 3, 2009

Pattern Tester

I'm loving it! I am part of something kind of exciting-- I was able to test a pattern for an online sewing mama friend. I like the thought of being there from the 'ground up' with the development of this hat.


Oh yeah, big deal but it was fun anyway!

It's called Lucy's Cloche and it's in the infancy stage but can be seen and found here soon.


Making this hat for Lil Lady was really very fun. She has just turned 6 and starting to have her own opinions on what she will and won't wear. (I knew my days were numbered) This hat is completely adorable on her. Here's a preview of my interpretation:


Saturday, June 27, 2009

Etsy Treasury!

A very exciting event has happened (ok, to me, anyway)!

My shop made an Etsy Treasury. It's from the SewingMamas etsy team!

Go visit---- :) http://www.etsy.com/treasury_list.php?room_id=67428

Wednesday, March 11, 2009

"Vintage" Patterns?


There's this whole 'society', of sorts, that delights in 'vintage' patterns. There's even a website devoted to donating your old/unused patterns to so that someone else may wonder in them. I used to go there and have SO much fun requesting patterns, having them arrive, and getting to sit with my fellow sewing mama and share what we got. However, now, they are VERY big and it can be tough to get what you request. Even if you have ten chosen for a back up!


All is not lost, however! My sewing mama pal and I go to a local recycling center when we need a 'pattern fix' and get lost in a sea of drawers upon drawers of patterns. Some are 'vintage', some are crafty, some are recent, and some just make us belly laugh! Did we really wear stuff like that in the 80s and 90s?!?!


Well, last time we were there, I came upon a 'vintage' pattern. What makes a pattern 'vintage'? Is it the yellowed envelope? Or the primitive sketches of models in clothes? Or is it the date stamped on the back of the envelope?

The pattern pictured at the beginning of this post struck me. I love bubble suits, that bonnet is FANTASTIC and the pinafore is now 'retro style'! Patterns of old only were for one size. This one was a size 2. This one was made in 1972. This one would have been EXACTLY something I would have worn at age 2!

Wait a minute. Does that make me vintage?

(sorry for the poor quality pictures but try to enjoy my enterpretations of this pattern below anyway)


Wednesday, April 23, 2008

Jewelry Roll Tutorial


Here it goes! My first tutorial..

Jewelry Roll

I came up with this idea for packing up your jewelry for travel or for home.

First, you start with one piece for outer fabric and two pieces for liner and approximately 18 inches of coordinating ribbon. I like a nice quilters cotton or something with a little rayon for the outer and an acetate or something else satiny for the liner. I've found either 18 x 6 or 24 x 6 works well. It all depends on how much jewelry you want to store!

Cut the three pieces (one outer, two liner to the size you like).

One of the liner pieces will have an approximately 1- 1.5 inch hem. Iron it down and stitch.

Take the two liner pieces and put them right side to wrong side. (I like to put them the way I know I want them to lay in the end and then flip them inside out-- let's not ask how I know this is a good way to do it). Sew the two pieces together with a 1/4 seam allowance around the two short sides and one long side.

Clip.

Press. Press. And, oh, press.

Next comes the pockets. This part is up to you. I like to make two 3 1/2 inch pockets on the outer sides and two smaller and then two or three tiny, shallow pockets in the center (for rings or earrings). I like to start at the outside when making the pockets and work my way in so that it all flows nicely being that I'm not one to plan too much ahead and measure it all out and all that...
Next, put right sides of liner and outer part together and sew all the way around two long sides and one short side. On the second short side, place the coordinating ribbon(folded in half) inside the two layers. Sew down the side and over the ribbon, backstitching over ribbon for a secure placement. Be sure to leave an opening about 1- 1.5 inches long to turn it right side out!
Turn the right side out and FIRMLY press the liner, stretching with your fingers to have it lay as flat as possible.

Slip stitch the opening and you are done!


Thanks so much for finding my tute! I know many are using this--woohooo!-- please leave me a comment. It'll make my day.

Friday, April 18, 2008

Totals

So, those who are keeping score, *and I know you are out there ~wink wink~* the show was a 'hit'! I got two orders, one for 4 dresses, one for an outfit and sold a dress on the spot. Not too bad, although I would have liked to have spread the word a little more..


There's a flea market at First Baptist Church in Oxford on May3. I'm debating... flea markets are for serious bargain shoppers.. My dresses aren't expensive at *all* but I wouldn't call them 'bargains'. They are handmade gems stitched with love, Gosh Darn It! ;-)


Speaking of which, Lil Lady has barely any spring/ summer wardrobe. What does this new Fangled Mama do with herself when Lil Lady has nothing to wear?


Why curse and growl and FINISH this shirt and then throw some shorts together to match, that's what!

I'm looking at these pictures and totally realizing that this pattern runs VERY large. As you can tell, once it's wearable, she won't let me alter it-- I'll sneak it back before it gets back to her drawer.. but this is the final picture, the one she approved after checking that the 'curtsy' was just right..